Generate Picklists
WarehousePro contains various options for generating pick lists. This ranges from a simple right click function to the fully automatic generation of picking lists without user intervention.
Generate manually
From the SAP Business One document (for example, the Sales Order), a pick list can be generated directly via the right-click menu via the option Generate WarehousePro Pick List.
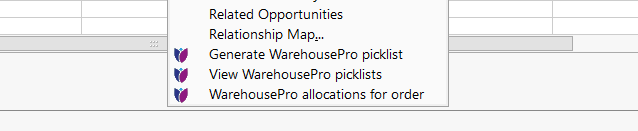
The pick list is created according to the standard strategy for this document type. The default settings for determining the options for this pick list are also used.
A summary screen will follow in which it is indicated whether the picking list could be created and why this could possibly not (or not completely) be possible. If one or more picking lists have been created, this will also be displayed.

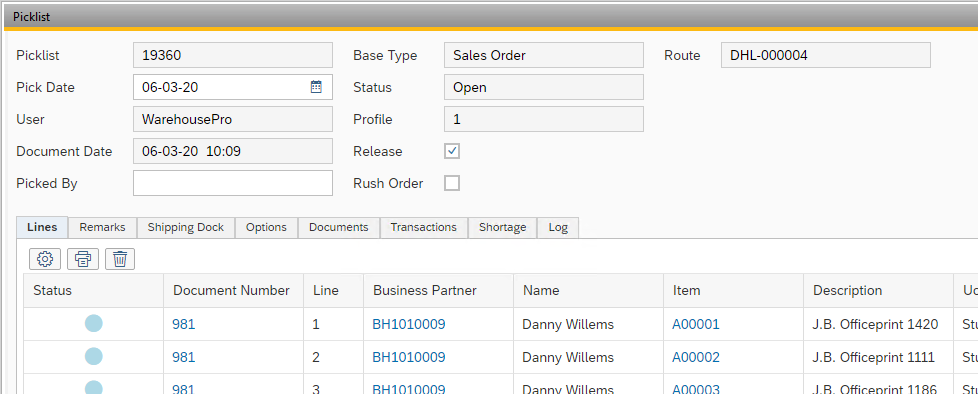
The pick list can be opened and adjusted if necessary.
Generate by wizard
A more advanced way to generate pick lists is via the Generate Pick Lists screen. This is a manual method with which Filters can be used to make a selection of documents or lines of documents. This selection can later be included in one or more pick lists.
To do this, open the menu WarehousePro > Picklists> Generate picklists in SAP Business One.
Filters
After opening, a screen will first appear in which Filters for the selection can be determined. The used filters are stored per user so that they do not have to be entered again and again. Empty Filters will not be used(everything is valid).
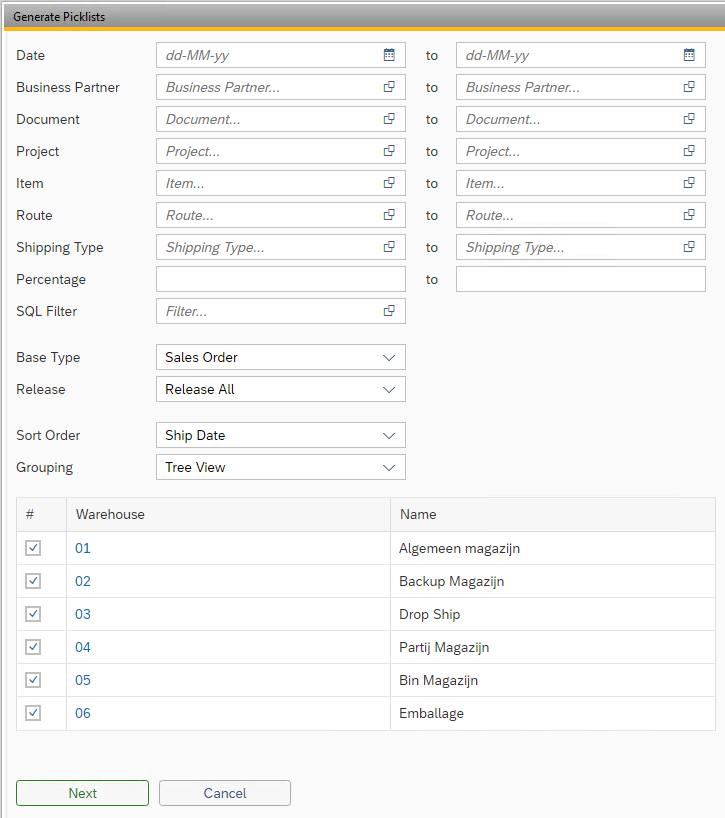
If available, an additional SQL Filter can be added to the filters.
Determine for which Base Type of document picking lists will be generated (filters may be reset after changing this selection).
Use Release to determine which quantity to include:
Release All Full outstanding quantity will beincluded.
Release only New Open quantity is included, except for the quantity that was shorted in an earlier pick list.
Only release Shortages Only quantity that was shorted in an earlier pick list is included.
Determine how the sorting of the result should be. This sorting will influence the allocation ofthe line’squantity. This always happens from top to bottom.
There are a few options:
Document Sorting takes place based on document number. The document that was first created will be displayed at the top of the screen.
Customer Sorting takes place based on Business Partner codes.
Name Sorting takes place based on the Business Partner names.
Item Sorting takes place based on the item codes. This only applies to Line view.
Item Name Sorting takes place based on the item description. This only applies to Line view.
Document Date Sorting takes place on the Document Date of the document.
Project Sorting takes place on the Project code of the document.
Ship Date Sorting takes place on the Send Date or Due Date of the document. Documents to be delivered first (due first) are at the top of the screen.
Shipping Type Sorting takes place on Shipping Type of the document (or line).
Route Sorting takes place on the linked route.
Determine the Grouping of the following screen. This representation determines for certain filters, which were given, occur both in the document header and in the lines with which this is compared. This also determines which query from the selected SQL Filter is used.
Press the Next button to apply the filters and view the result.
Document/Line selection
The result of the filters is presented in the upcoming screen (display depends on the Document, Rule or Tree structure choice).
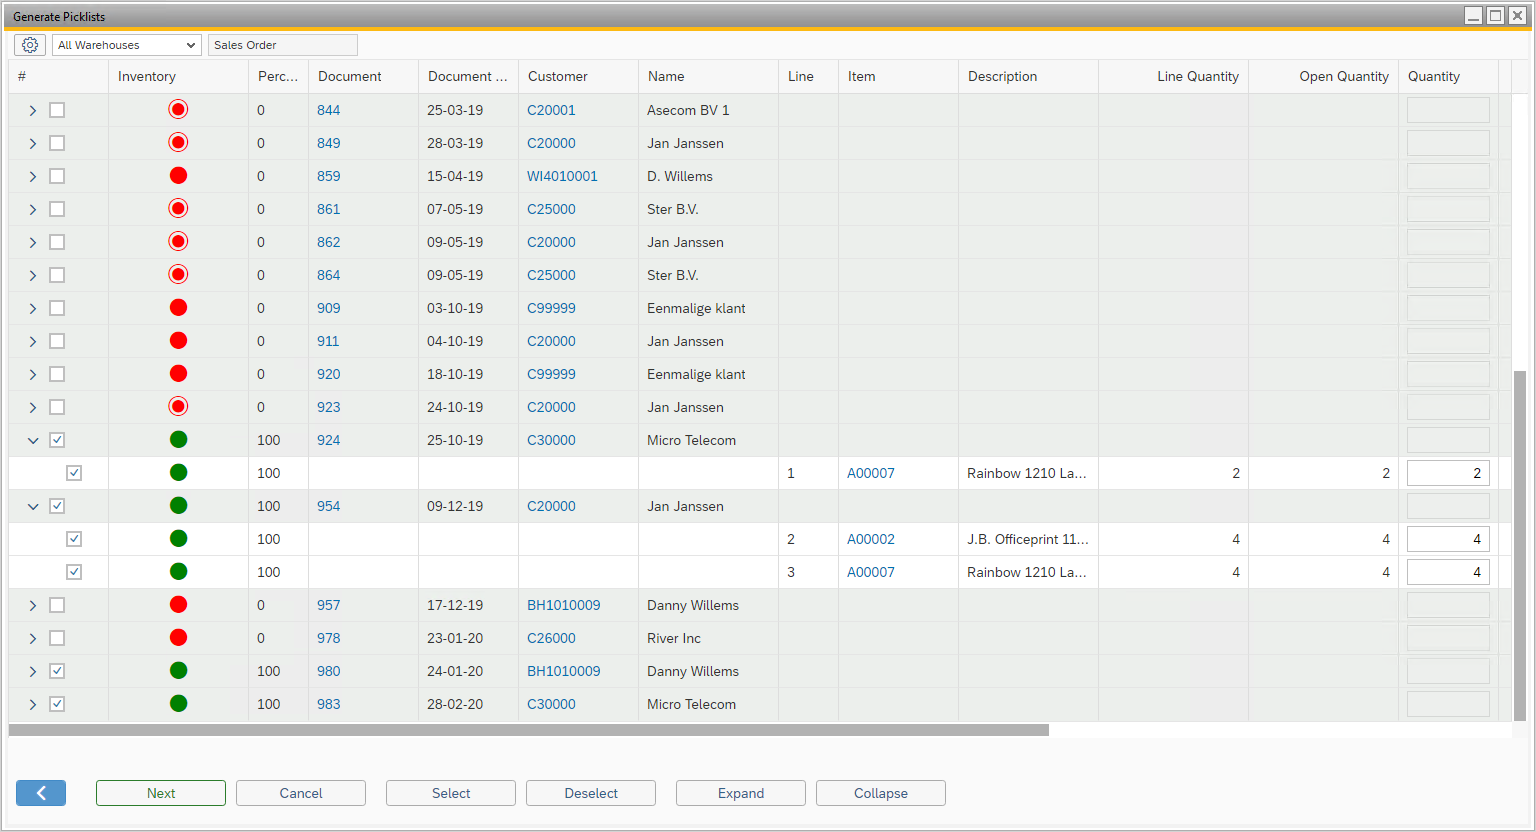
At the top of the screen you can determine which strategy should be used to generate the pick list.
In this result, the document and / or the line is displayed with a color coding:
Red Full quantity not available according to stock or strategy
Orange Partially available according to stock or strategy
Green Fully available according to stock and strategy
When an additional circle is displayed around the color indicator, this means that there is a stock allocation for the line. The precise meaning is also displayed in a pop-up text when the mouse is moved over a color.
The available quantityis already assigned to the lines from top to bottom. If another line must be given priority in stock, the line’s quantity must be set to zero (or at least a lower quantity) before it can be assigned to another.
In this screen lines can then be selected (check mark in the first column) which should be included in the pick list. The Selectbutton automatically selects all available stock (again from top to bottom).By placing the check mark in front of a document, all lines belonging to that order are automatically selected. Lines marked in red are skipped if they were selected manually.
Press the Next button after selection to go through the final step of the wizard.
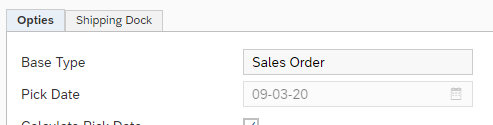
Options
In the last step the default Options can be viewed and deviations from this standard can be made where necessary.
Generate automatically
When automatic generation of picking lists is enabled, the picking lists are generated fully automatically by WarehousePro based on active profiles. It is possible to combine automatic generation and manual generation. For example, it is possible to have document lines with specific characteristics to be generated by the automatic process and to allow the remainder to run in a manual and user-controlled manner.
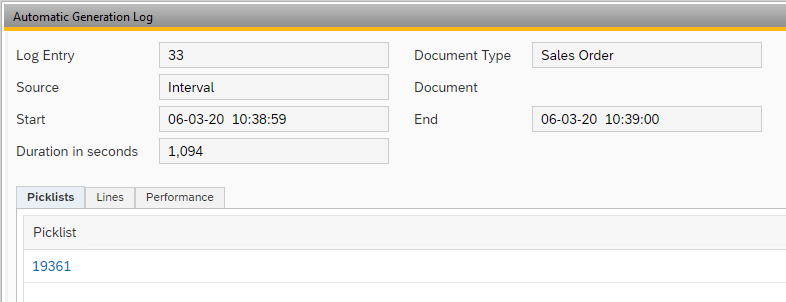
Automatic Generation Log
Regarding the automatic generation, logging is kept per profile about the progress of these processes. For each trigger, the logging records whether picking lists have been generated and how long this process has taken.
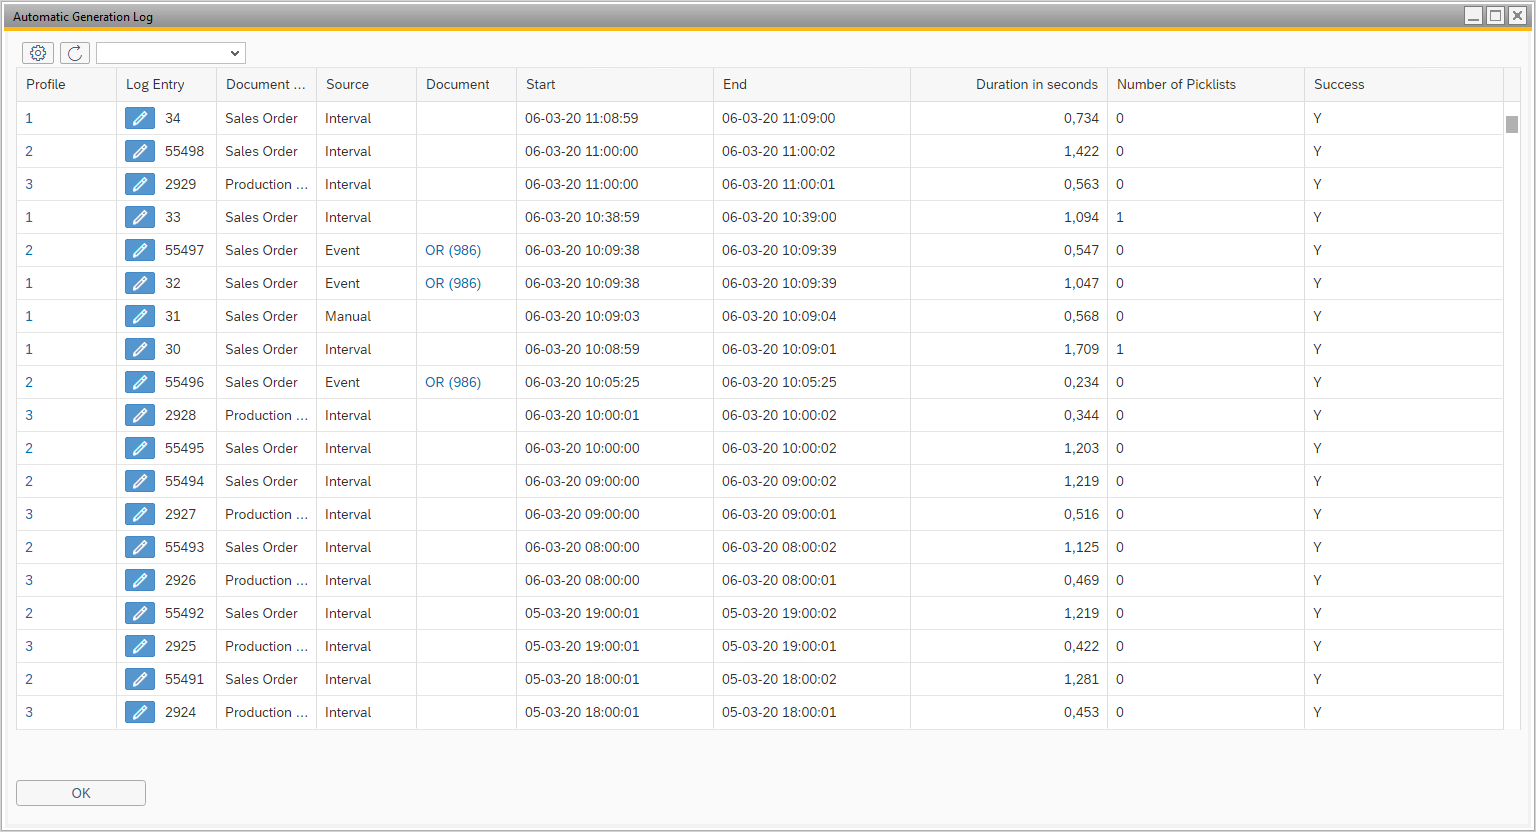
By clicking on the icon of the Log Entry, more details about the process can be requested. Here you can see, for example, which picking lists were generated.